In this article (21 sections)
- 1. Pressed-Leaf Window Frames
- 2. Pinecone Woodland Owls
- 3. Acorn-Cap Miniature Paintings
- 4. Leaf-Rubbing Patchwork Art
- 5. Twig-and-Twine Picture Frame
- 6. Autumn Leaf Animal Collages
- 7. Seedpod Hanging Mobile
- 8. Leaf-Print Gift Wrap
- 9. Miniature Twig Easels
- 10. Acorn Mosaic Initials
- 11. Autumn Nature Mandalas
- 12. Leaf-Imprint Clay Dishes
- 13. Pinecone Flower Bouquet
- 14. Pressed-Leaf Bookmarks
- 15. Woodland Diorama in a Shoebox
- 16. Nature-Weaving Branch Loom
- 17. Painted Autumn Story Stones
- 18. Leaf-Covered LED Lanterns
- 19. Floating Leaf Shadow Box
- 20. Autumn Treasure Wall Hanging
- Make the Most of Your Autumn Finds
20 Fall Nature Crafts That Turn Autumn Treasures into Art
Autumn offers an art supply collection that no store can match: crimson leaves, textured acorn caps, curled seedpods, and twigs shaped by the weather. Gather a few fallen treasures on your next walk, and you’ll have the beginnings of decorations, keepsakes, and handmade gifts.
These 20 fall nature crafts range from quick projects for children to more detailed designs for a cozy afternoon indoors. Most use simple supplies such as paper, glue, string, and paint.
Before you begin, gently brush dirt from your finds and let them dry thoroughly. Collect only where permitted, leave living plants undisturbed, and avoid materials sheltering insects. Small objects such as acorns and seeds need adult supervision around young children.
1. Pressed-Leaf Window Frames
Turn colorful leaves into miniature windows that catch the soft autumn light.
You’ll need: Flat leaves, clear self-adhesive contact paper, cardstock, scissors, and string.
How to make it:
- Press leaves between sheets of paper beneath a heavy book until flat and dry.
- Cut two matching cardstock frames.
- Place one frame on the sticky side of a piece of contact paper and arrange leaves inside the opening.
- Cover with a second sheet of contact paper, sticky sides together.
- Glue the remaining frame to the back, trim the edges, and add a hanging loop.
Use just a few leaves per frame so light can shine through the spaces between them. Natural colors will gradually fade, especially in direct sunlight.
2. Pinecone Woodland Owls
Pinecone scales make wonderfully textured feathers for a little woodland owl.
You’ll need: Dry pinecones, felt scraps, cardstock, craft glue, and small twigs.
How to make it:
- Position a pinecone with its wider end at the bottom.
- Cut two felt wings and glue them to the sides.
- Make large paper eyes and a small triangular beak.
- Attach the face near the top.
- Glue the owl onto a sturdy cardboard base, adding a twig across the front as a perch.
Create a family using pinecones of different sizes, each with a slightly different expression.
3. Acorn-Cap Miniature Paintings
The inside of an acorn cap becomes a tiny canvas for color and pattern.
You’ll need: Empty acorn caps, acrylic paint, fine brushes, craft glue, and heavy cardstock.
How to make it:
- Clean and thoroughly dry the caps.
- Paint the inside of each one with a solid color.
- Add tiny dots, spirals, stars, or flower shapes.
- Once dry, glue the caps onto cardstock in a circle, grid, or scattered arrangement.
Choose mustard yellow, rust, cream, and deep blue for a coordinated autumn palette.
4. Leaf-Rubbing Patchwork Art
Capture the veins and edges of different leaves in a colorful paper “quilt.”
You’ll need: Leaves with prominent veins, thin paper, crayons, scissors, glue, and a backing sheet.
How to make it:
- Place a leaf vein-side up beneath a sheet of paper.
- Rub over it with the side of an unwrapped crayon.
- Repeat with different leaves and colors.
- Cut the rubbings into equal squares.
- Glue the squares onto a larger sheet in a patchwork pattern.
Alternate pale and dark colors to give each square its own place in the design.
5. Twig-and-Twine Picture Frame
A bundle of fallen twigs can turn a simple photograph into rustic fall decor.
You’ll need: Dry twigs, corrugated cardboard, glue, twine, and a photograph.
How to make it:
- Cut a cardboard frame with an opening slightly smaller than your photograph.
- Break or trim twigs to fit along the frame’s edges.
- Glue them onto the cardboard in layers.
- Wrap twine around the corners for decoration.
- Attach the photograph behind the opening and add a cardboard backing.
Use strong craft glue and allow plenty of drying time. An adult can use hot glue where a quicker bond is needed.
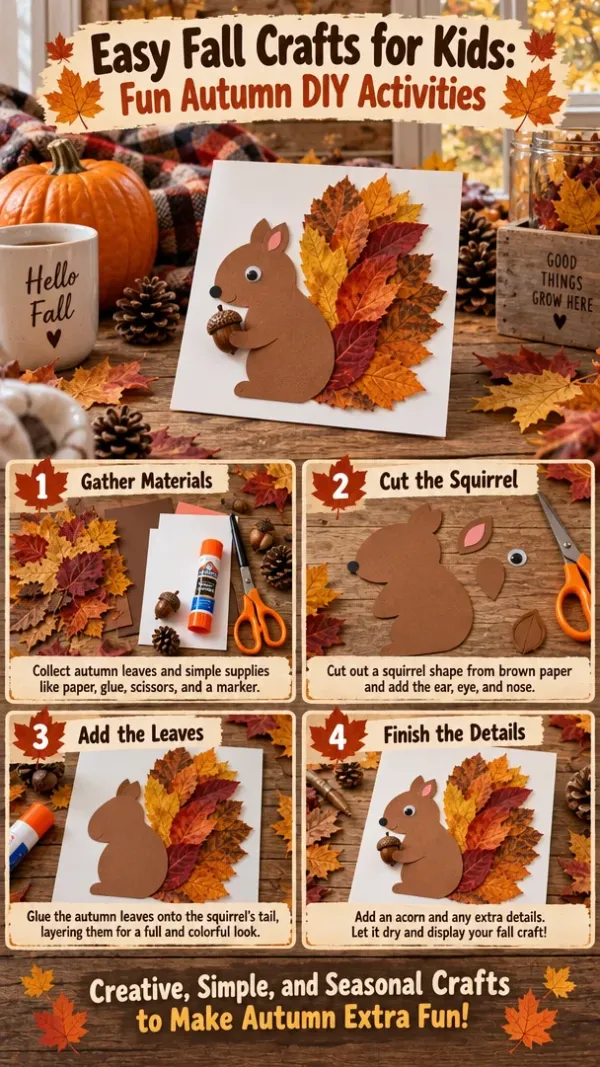
6. Autumn Leaf Animal Collages
A pointed leaf might become a fox’s face, while a broad leaf makes a perfect hedgehog body.
You’ll need: Pressed leaves, paper, glue, markers, and scissors.
How to make it:
- Spread out your leaves and look for shapes that suggest animals.
- Arrange them on paper before gluing.
- Layer smaller leaves for ears, tails, or wings.
- Glue the pieces down.
- Add eyes, legs, whiskers, and scenery with markers.
Try a bird with overlapping leaf feathers or a mouse with a slender leaf tail.
7. Seedpod Hanging Mobile
Build a gently moving sculpture from the small shapes that often go unnoticed on autumn walks.
You’ll need: Lightweight seedpods, small pinecones, leaves, a fallen branch, and thread.
How to make it:
- Tie several lengths of thread along the branch.
- Secure a natural object to the end of each thread.
- Vary the hanging lengths.
- Add a suspension cord to both ends of the branch.
- Adjust the objects until the mobile hangs evenly.
Choose clean, dry materials from plants you can identify as safe to handle. Hang the mobile away from cribs, pets, and open flames.
8. Leaf-Print Gift Wrap
Give plain wrapping paper a handmade finish with botanical prints.
You’ll need: Sturdy fresh leaves, kraft paper, washable paint, and a sponge brush.
How to make it:
- Brush a thin layer of paint onto the veined underside of a leaf.
- Place it paint-side down on the paper.
- Press gently, then lift it straight up.
- Repeat in rows or loose clusters.
- Let the paper dry completely before wrapping.
A single paint color looks elegant; overlapping copper, red, and gold creates a richer pattern.
9. Miniature Twig Easels
Make tiny stands for place cards, autumn drawings, or favorite leaf rubbings.
You’ll need: Four short twigs per easel, twine, and strong craft glue.
How to make it:
- Arrange two twigs into an upside-down V.
- Glue a shorter twig horizontally across them to form a ledge.
- Lash the top joint with twine.
- Attach a third long twig behind the top as a rear support.
- Adjust the legs and let the glue set before adding a lightweight card.
Keep the easel low and wide for better stability.
10. Acorn Mosaic Initials
Celebrate a name or family initial with a textured woodland monogram.
You’ll need: Acorns, acorn caps, sturdy cardboard, a pencil, and strong craft glue.
How to make it:
- Draw and cut out a large block letter.
- Arrange acorns and caps across its surface.
- Mix upright caps, sideways acorns, and smaller pieces to fill gaps.
- Glue each piece in place.
- Let the letter dry flat.
Display it leaning on a shelf, or mount it onto a larger backing board. The finished piece may be heavier than it looks.
11. Autumn Nature Mandalas
Explore balance, repetition, and color without needing any glue at all.
You’ll need: Fallen leaves, pebbles, acorns, twigs, and seedpods.
How to make it:
- Choose a flat outdoor surface.
- Place one interesting object in the center.
- Build rings around it using repeated shapes.
- Alternate colors and textures.
- Photograph the finished design.
For a temporary outdoor mandala, use only materials gathered nearby and leave the area as you found it afterward.
12. Leaf-Imprint Clay Dishes
Preserve delicate leaf veins in a small dish for rings or other dry keepsakes.
You’ll need: Air-dry clay, a rolling pin, a textured leaf, a clay tool, and a shallow bowl.
How to make it:
- Roll the clay into an even slab.
- Press a leaf vein-side down onto it.
- Gently roll over the leaf, then peel it away.
- Cut around the outline or make a simple oval.
- Drape the clay into a shallow bowl lined with plastic wrap to create a slight curve.
- Dry according to the clay manufacturer’s directions, removing the support when recommended so the underside can dry.
Paint the veins once cured. Unless your materials specifically state otherwise, treat the dish as decorative—not food-safe or waterproof.
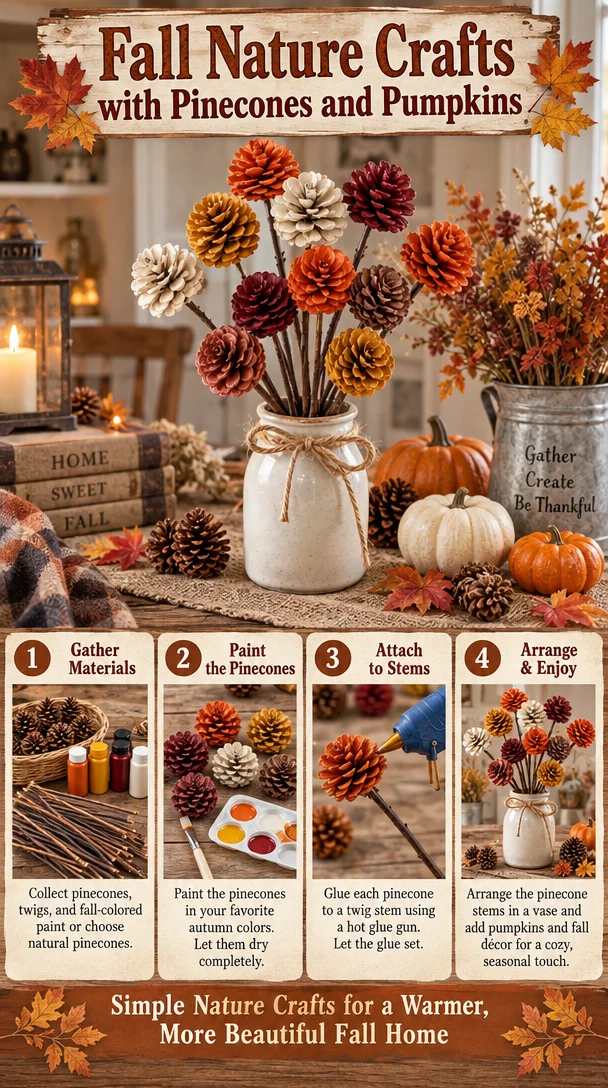
13. Pinecone Flower Bouquet
Look closely at a pinecone from the bottom, and its scales resemble layered petals.
You’ll need: Small open pinecones, acrylic paint, sturdy twigs, strong craft glue, and a vase.
How to make it:
- Paint the bottom-facing scales in flower colors.
- Add a contrasting center.
- Glue each pinecone securely to a twig stem, with the painted end facing outward.
- Let the joints cure fully.
- Arrange the flowers in a narrow-necked vase.
An adult may need to help with hot glue for the stems. A few unpainted pinecones will keep the bouquet looking natural.
14. Pressed-Leaf Bookmarks
Save a little piece of autumn between the pages of a favorite book.
You’ll need: Small pressed leaves, cardstock strips, clear self-adhesive contact paper, a hole punch, and ribbon.
How to make it:
- Glue fully dried leaves onto a cardstock strip.
- Add a short quotation or handwritten name.
- Cover both sides with contact paper.
- Trim, leaving a narrow sealed border.
- Punch a hole above the leaves and thread ribbon through it.
Choose thin leaves and remove bulky stems so the bookmark sits comfortably inside a book.
15. Woodland Diorama in a Shoebox
Create a small forest scene with a winding path and tiny autumn trees.
You’ll need: A shoebox, paper, paint, twigs, dry leaves, pebbles, acorn caps, and glue.
How to make it:
- Paint or paper the inside of the box as a sky and forest floor.
- Stand twigs in small lumps of clay to make trees.
- Glue leaf pieces onto the branches.
- Arrange pebbles into a path.
- Add acorn-cap bowls, paper animals, or a tiny cardboard bench.
Place taller trees toward the back and smaller details near the front to give the scene depth.
16. Nature-Weaving Branch Loom
Combine yarn with autumn finds to make a small woven wall hanging.
You’ll need: A sturdy Y-shaped fallen branch, yarn, flexible grasses, narrow leaves, and soft plant stems.
How to make it:
- Tie yarn securely to one arm of the branch.
- Wrap it back and forth between the two arms, forming evenly spaced strands.
- Weave yarn over and under those strands.
- Tuck lightweight natural materials between the woven rows.
- Add a loop for hanging.
Use yarn for most of the structure; dried leaves and grasses are fragile and work best as accents.
17. Painted Autumn Story Stones
Turn smooth pebbles into prompts for seasonal storytelling.
You’ll need: Smooth stones, acrylic paint or paint markers, and a cloth bag.
How to make it:
- Wash and dry the stones.
- Paint a simple picture on each: a leaf, owl, cloud, mushroom, apple, or woodland path.
- Let them dry fully.
- Place them in a bag.
- Draw three stones and invent a story connecting the images.
Keep painted stones indoors rather than leaving them in natural areas.
18. Leaf-Covered LED Lanterns
Create a warm-looking glow for an autumn table without using a flame.
You’ll need: A clean glass jar, thin pressed leaves, water-based decoupage medium, a brush, and an LED tea light.
How to make it:
- Brush a thin layer of decoupage medium onto the outside of the jar.
- Press the leaves gently into place.
- Brush another light coat over them.
- Leave gaps between the leaves for light.
- Allow the jar to dry completely, then place an LED tea light inside.
Use battery-operated lights only; dried leaves and craft coatings should stay away from flames.
19. Floating Leaf Shadow Box
Give one especially beautiful leaf the attention usually reserved for a painting.
You’ll need: A shadow-box frame, a pressed leaf, heavyweight paper, a small piece of foam board, and craft glue.
How to make it:
- Cover the frame’s backing with plain paper.
- Glue a small foam-board spacer to the center.
- Carefully attach the leaf to the spacer, keeping it hidden behind the leaf.
- Let the glue dry before closing the frame.
- Display it away from direct sunlight.
The raised leaf casts a subtle shadow, making its shape stand out against the background.
20. Autumn Treasure Wall Hanging
Bring your favorite finds together in one simple seasonal display.
You’ll need: A sturdy fallen branch, twine, pinecones, acorn caps, pressed leaves, and optional wooden beads.
How to make it:
- Tie several strands of twine along the branch.
- Wrap and knot twine around pinecones.
- Glue leaves and acorn caps onto other strands.
- Add wooden beads if desired.
- Tie a hanging cord to both ends of the branch and check that it balances.
Keep the arrangement airy rather than crowded. A few striking leaves and textured pinecones can be enough.
Make the Most of Your Autumn Finds
You don’t need a basket overflowing with materials to make something memorable. One patterned leaf can become framed art; a handful of acorn caps can inspire a mosaic.
Start with whatever catches your eye, let its shape guide the project, and enjoy the small imperfections. Curled edges, uneven twigs, and weathered textures are what make nature crafts feel like autumn.