DIY Mini Cute Faced Pumpkins: A Creative Fall Craft
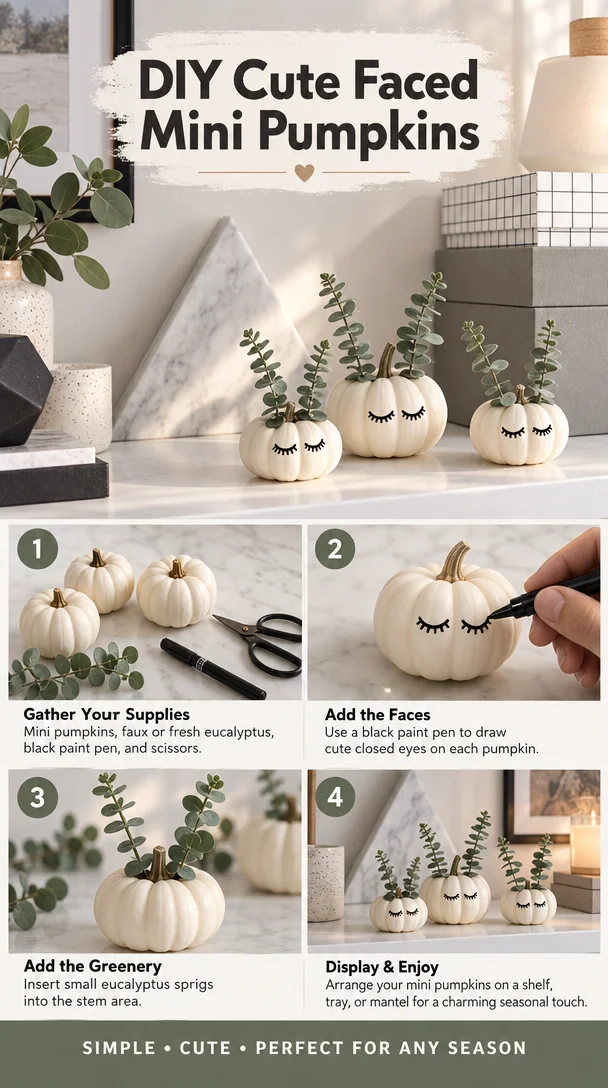
As autumn arrives, the urge to decorate our homes for the season begins. One delightful way to bring the spirit of fall into your space is by creating your own DIY mini cute faced pumpkins. These charming decorations can brighten up any room, and they make fantastic additions to your Halloween decor. Let’s dive into the fun and easy steps for making your very own mini pumpkins.
Materials Needed
To create your mini pumpkins, you’ll need a few basic materials:
- Mini pumpkins (real or faux)
- Acrylic paint (various colors)
- Paintbrushes
- Permanent markers or paint pens
- Optional: craft accessories like googly eyes, felt, or fabric for added embellishments
Step-by-Step Instructions
-
Choose Your Pumpkins:
Select mini pumpkins that suit your style. You can choose different shapes or colors for variety. If using real pumpkins, make sure they are firm and healthy. -
Prepare Your Workspace:
Lay down newspaper or a plastic sheet to protect your working surface. Gather all the materials you will need. -
Paint the Base Color:
Using your acrylic paint, apply a base color to each pumpkin. Traditional orange is classic, but feel free to get creative with other colors like white, blue, or even glittery shades! Allow the paint to dry completely. -
Create Faces:
Once the base coat is dry, use permanent markers or paint pens to draw simple faces on your pumpkins. You can make happy, surprised, or silly expressions, depending on your mood. If you prefer, you can also glue on googly eyes for an extra fun touch. -
Add Details:
For an added layer of creativity, use felt or small fabric pieces to create hats, bows, or other accessories for your pumpkins. You can glue these items onto the pumpkins to give them even more personality. -
Display Your Mini Pumpkins:
Once everything is dry and set, find a lovely spot to display your cute faced pumpkins. A shelf, a dining table centerpiece, or even as part of a Halloween party display are perfect locations.
Tips for Personalization
- Theme It: Consider creating a theme for your pumpkins, such as spooky, whimsical, or even classic cartoon characters.
- Mix Sizes: Incorporate different sizes and shapes of pumpkins for an eclectic look.
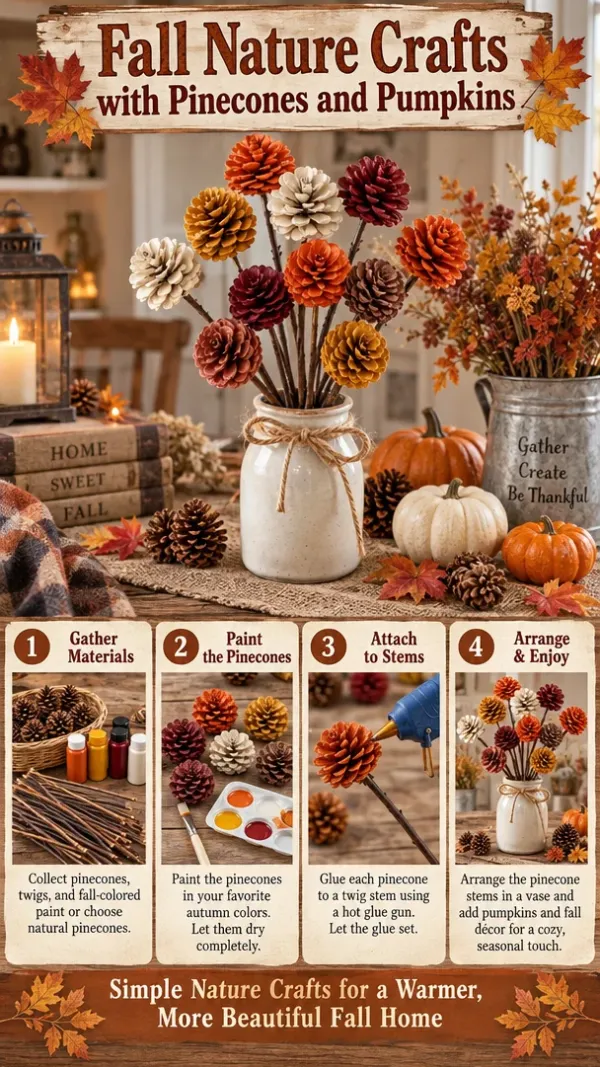
- Use Nature: Enhance your display by mixing in pine cones, acorns, or leaves around your pumpkins.
Conclusion
DIY mini cute faced pumpkins are not just fun to make; they are also a wonderful way to engage your creativity and embrace the festive spirit of fall. This activity is perfect for family gatherings, kids’ crafts, or even solo crafting sessions. So gather your materials, unleash your imagination, and enjoy the process of turning plain mini pumpkins into adorable autumn decorations! Happy crafting!